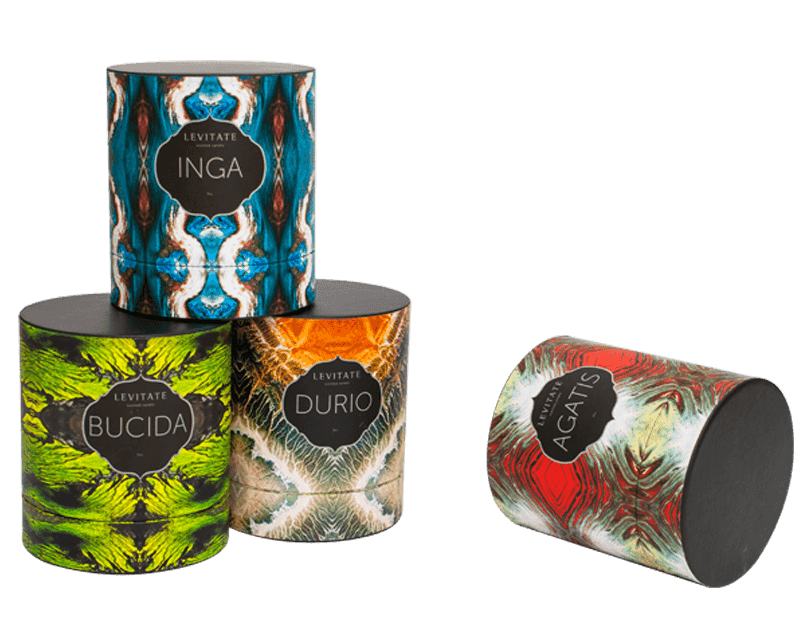
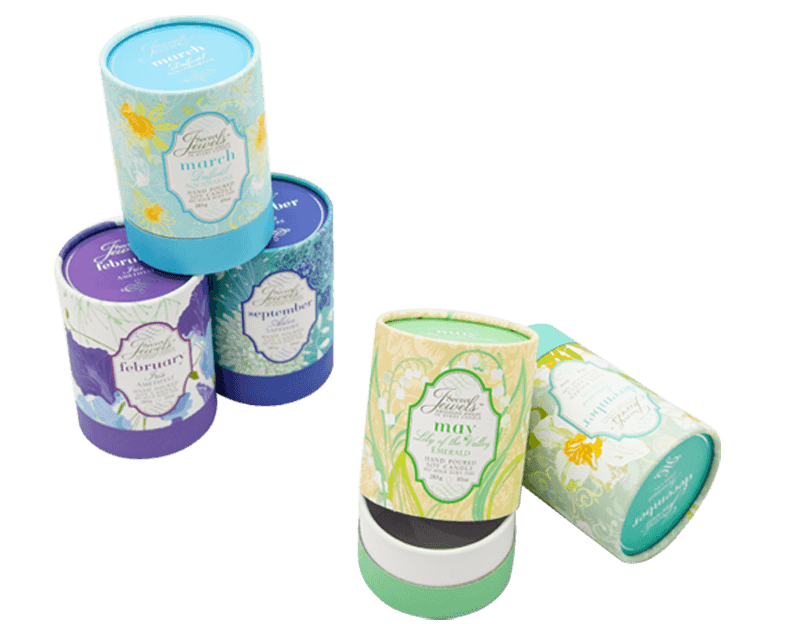
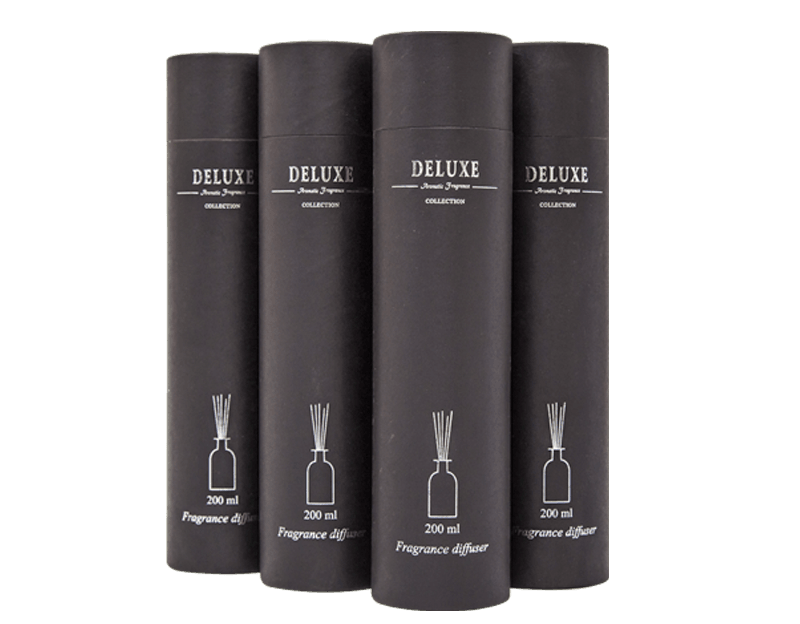
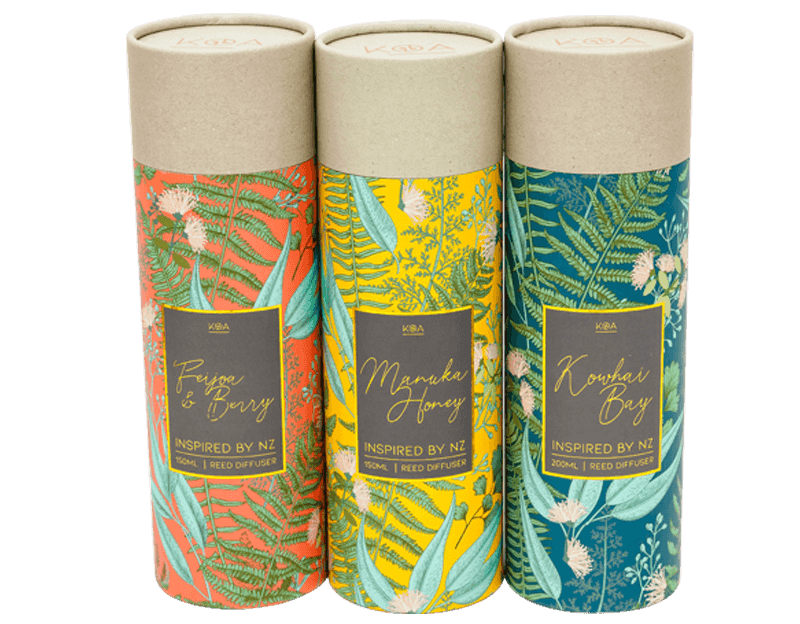
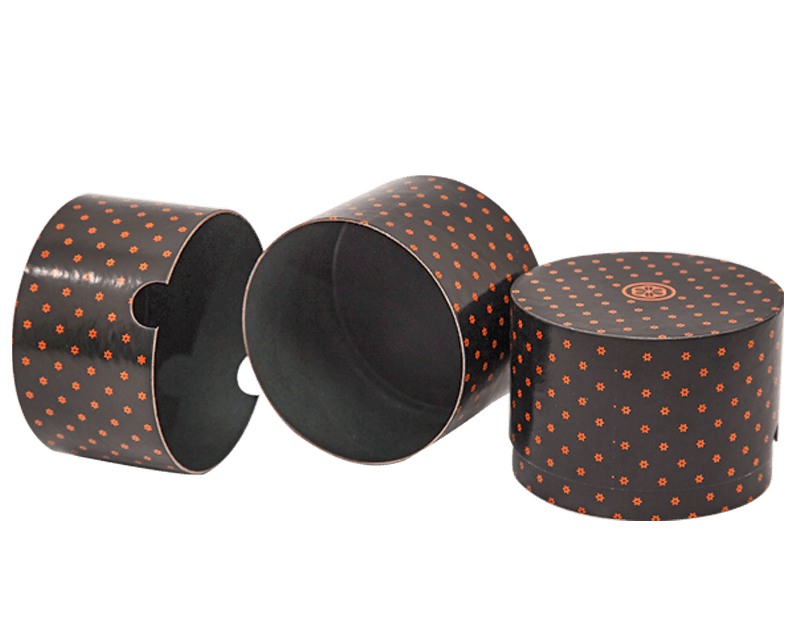
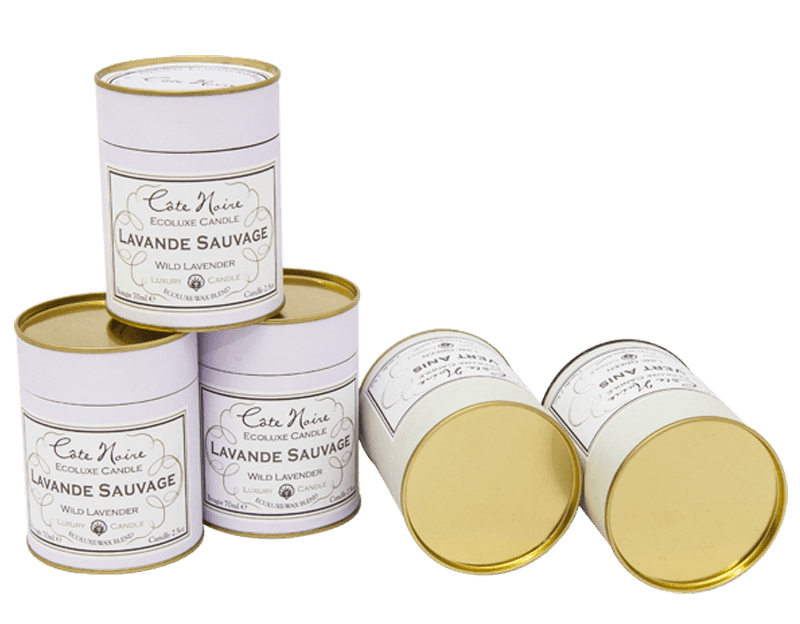
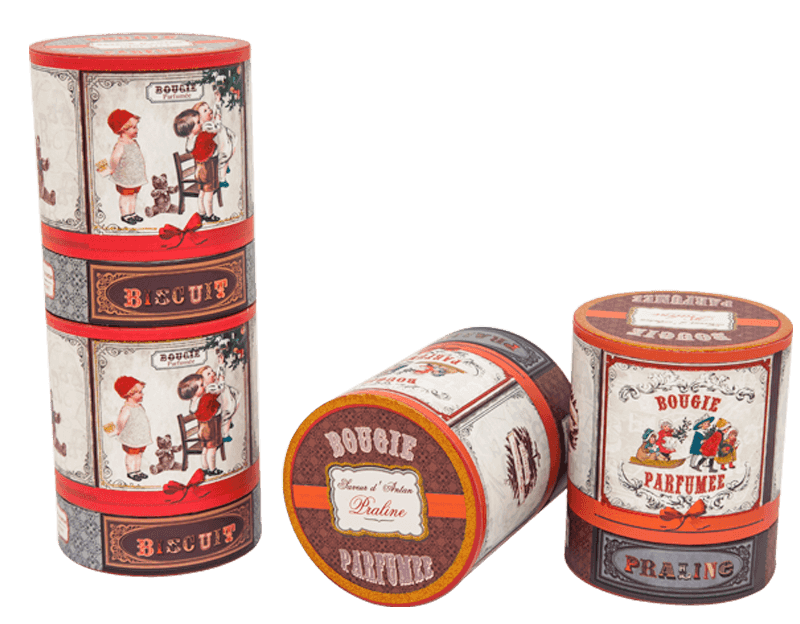
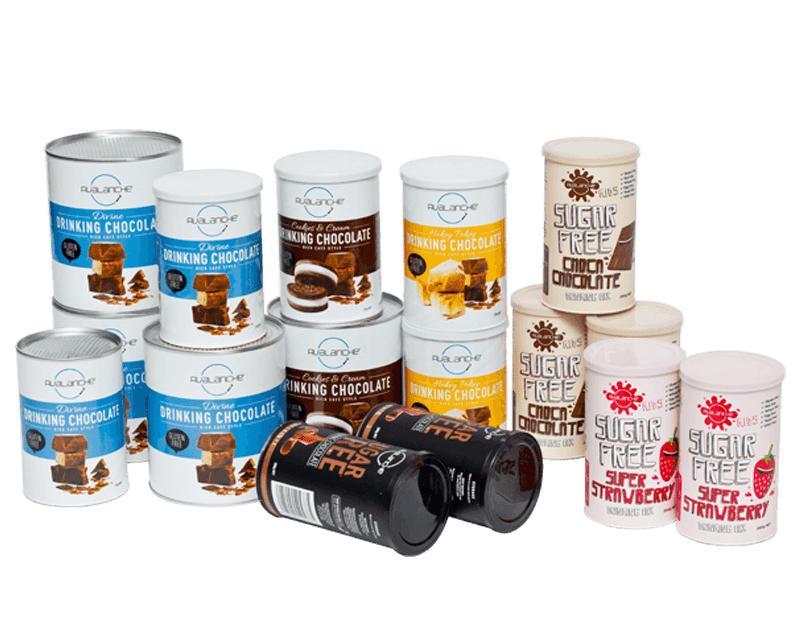
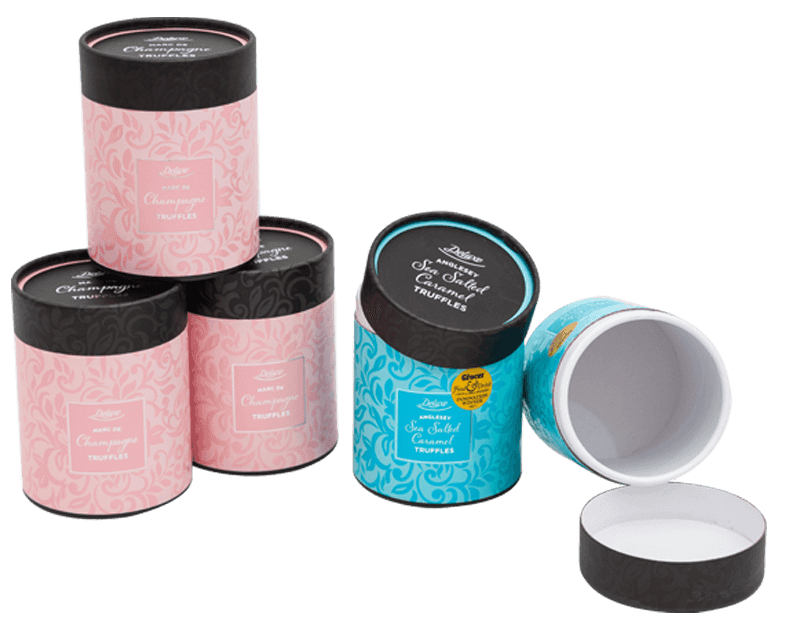
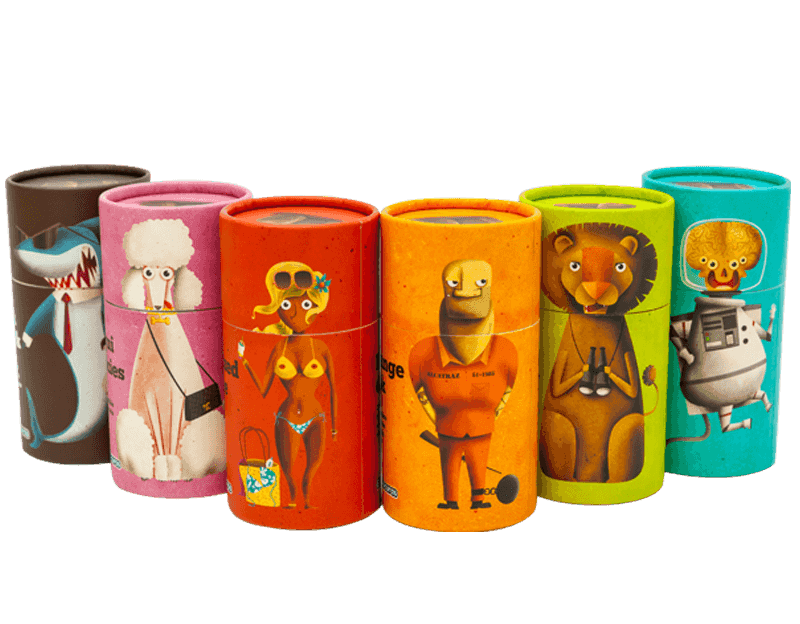
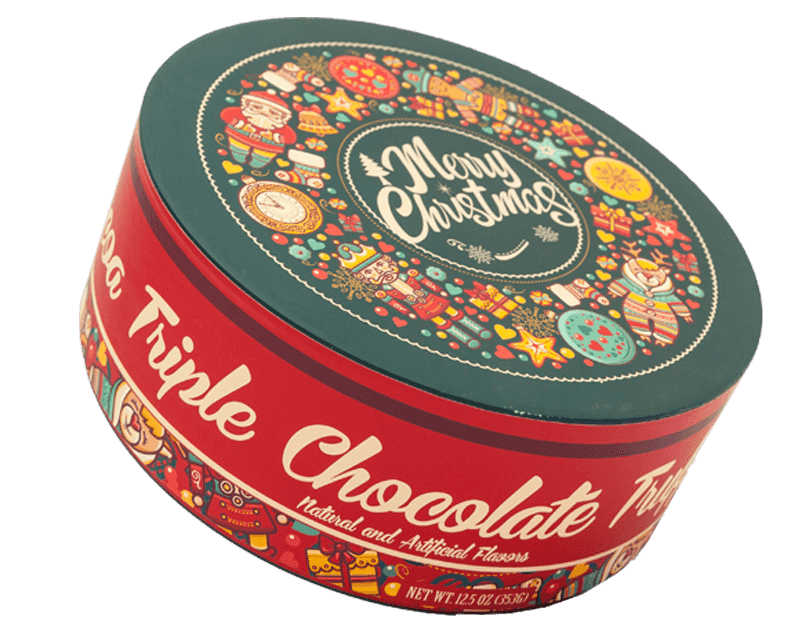
As one of the top China cardboard tube packaging manufacturers and paper tube packaging suppliers, we devote all of our efforts to research and launch more high quality packaging products to global market.
Rolling a paper tube might sound simple, but achieving a perfect, durable, and aesthetically pleasing result requires a bit of technique and attention to detail. Whether you're creating a core for crafts, a sturdy mailing tube, or an element for a larger project, mastering the art of paper tube rolling can elevate your work.
The Art and Science of Rolling a Perfect Paper Tube
At its core, rolling a paper tube involves transforming a flat sheet into a cylindrical form. However, the quality of the materials, the precision of your technique, and the adhesive you choose all play crucial roles in the final product.
1. Choosing Your Materials Wisely
The type of paper you select will largely dictate the tube's strength and appearance.
-
Paper Stock:
-
Lightweight Papers (e.g., printer paper, newsprint): Ideal for delicate crafts or temporary uses. They are easy to roll but offer minimal structural integrity.
-
Medium-Weight Papers (e.g., cardstock, craft paper): A good balance of flexibility and strength, suitable for general-purpose tubes, model making, or protective sleeves.
-
Heavyweight Papers (e.g., poster board, chipboard): Best for applications requiring maximum rigidity, such as mailing tubes, structural supports, or durable cores. These can be more challenging to roll tightly without creasing.
-
-
Adhesive:
-
Craft Glue (PVA Glue): Versatile and strong, ideal for most paper types. Apply a thin, even coat to avoid wrinkling.
-
Hot Glue: Provides an instant bond, useful for quick assemblies, but can create a more rigid, less seamless seam.
-
Double-Sided Tape: Offers a clean, mess-free alternative, particularly good for decorative tubes where a visible glue line is undesirable.
-
Spray Adhesive: Excellent for large sheets or when you need an even, all-over bond, but requires good ventilation and protection for your work surface.
-
-
Tools:
-
Dowel Rod, Knitting Needle, or Cardboard Tube: Your core around which to roll the paper. The diameter of this tool will determine the inner diameter of your finished tube.
-
Ruler and Pencil: For precise measurements and marking cutting lines.
-
Craft Knife or Scissors: For clean cuts. A craft knife with a cutting mat is recommended for straighter edges.
-
Bone Folder or Brayer (Optional): For smoothing out seams and ensuring good adhesion.
-
2. The Rolling Process: Step-by-Step
Precision is key here. Take your time to ensure each step is executed carefully.
-
Prepare Your Paper:
-
Cut to Size: Determine the desired length and circumference of your tube. Cut your paper accordingly. Remember that the length of the paper will be the length of your tube, and the width will determine its circumference (plus an overlap for the seam).
-
Grain Direction (Optional but Recommended): For stronger, smoother tubes, try to roll with the paper's grain. This can reduce buckling and make rolling easier, especially with thicker papers.
-
-
Choose Your Core: Select a dowel, rod, or existing tube that matches the desired inner diameter of your finished paper tube.
-
Initiate the Roll:
-
Place the edge of your paper parallel to your core.
-
Carefully and tightly wrap the first half-inch or so of paper around the core, ensuring it's straight and snug. This initial wrap is critical for a smooth tube.
-
For thicker papers, you might need to "pre-crease" the initial edge by gently bending it around the core before you start rolling.
-
-
Roll with Even Tension:
-
As you roll, apply consistent, even pressure across the entire width of the paper. This prevents wobbles and ensures a uniform tube.
-
Keep the edges of your paper aligned. If one side starts to creep ahead, gently adjust your pressure to bring it back in line.
-
For longer tubes, it can be helpful to work on a flat surface and use both hands to guide the roll.
-
-
Apply Adhesive:
-
When you're about an inch or two from the end of your paper, stop rolling.
-
Apply a thin, even line of your chosen adhesive along the remaining edge of the paper. If using PVA glue, a small bead is usually sufficient. Avoid over-applying, as this can cause wrinkles and extend drying time.
-
-
Complete the Roll and Secure the Seam:
-
Continue rolling until the glued edge is fully wrapped and adhered.
-
Press firmly along the seam to ensure good contact. A bone folder or brayer can be invaluable here for achieving a professional, flat seam.
-
Hold the tube for a few moments until the adhesive begins to set.
-
-
Dry and Cure: Allow your tube to dry completely before removing it from the core, especially if you've used a wet adhesive. This can take several hours, or even overnight, depending on the glue and paper thickness. Rushing this step can lead to the tube unraveling or losing its shape.
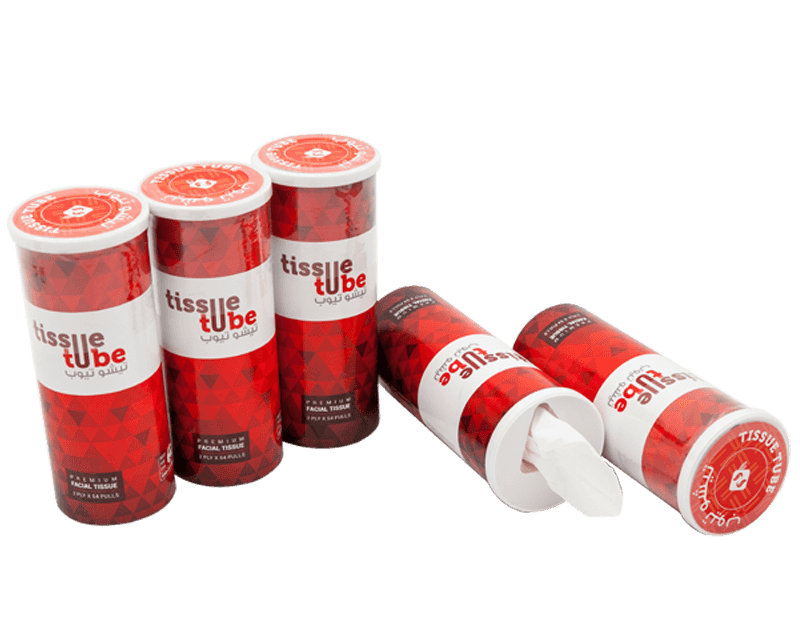
3. Tips for Professional Results
-
Multiple Layers for Strength: For extremely strong tubes (like those needed for shipping), roll multiple layers of paper. Apply adhesive between each layer for maximum bond.
-
Tapered Ends: If you need a more decorative or ergonomic tube, you can trim the ends at an angle after rolling.
-
Finishing Touches: Once dry, you can paint, decorate, or seal your paper tubes. A clear sealant can add durability and moisture resistance.
-
Troubleshooting:
-
Uneven Roll: This is often due to inconsistent pressure or a misaligned starting edge. Practice makes perfect!
-
Bubbles/Wrinkles: Usually caused by too much adhesive or uneven application. Use less glue and spread it thinly.
-
Tube Unraveling: Insufficient drying time or not enough pressure on the seam during adhesion.
-
Rolling a paper tube is a fundamental skill with numerous applications. By understanding the materials, perfecting your technique, and paying attention to detail, you can consistently produce high-quality, professional-looking paper tubes for any project. What kind of project are you thinking of using your paper tubes for?
 English
 Español
